Meal planners are low-content books, unlike a novel or other types of nonfiction books, that authors can create that consumers love. Nutrition, meal planning and foodie content are all surging in popularity and making a planner is the perfect way for an author to develop a useful book in one of these categories. But meal planner printing can be simple with our easy-to-follow steps.
Are Meal Planners the Same as Cookbooks?
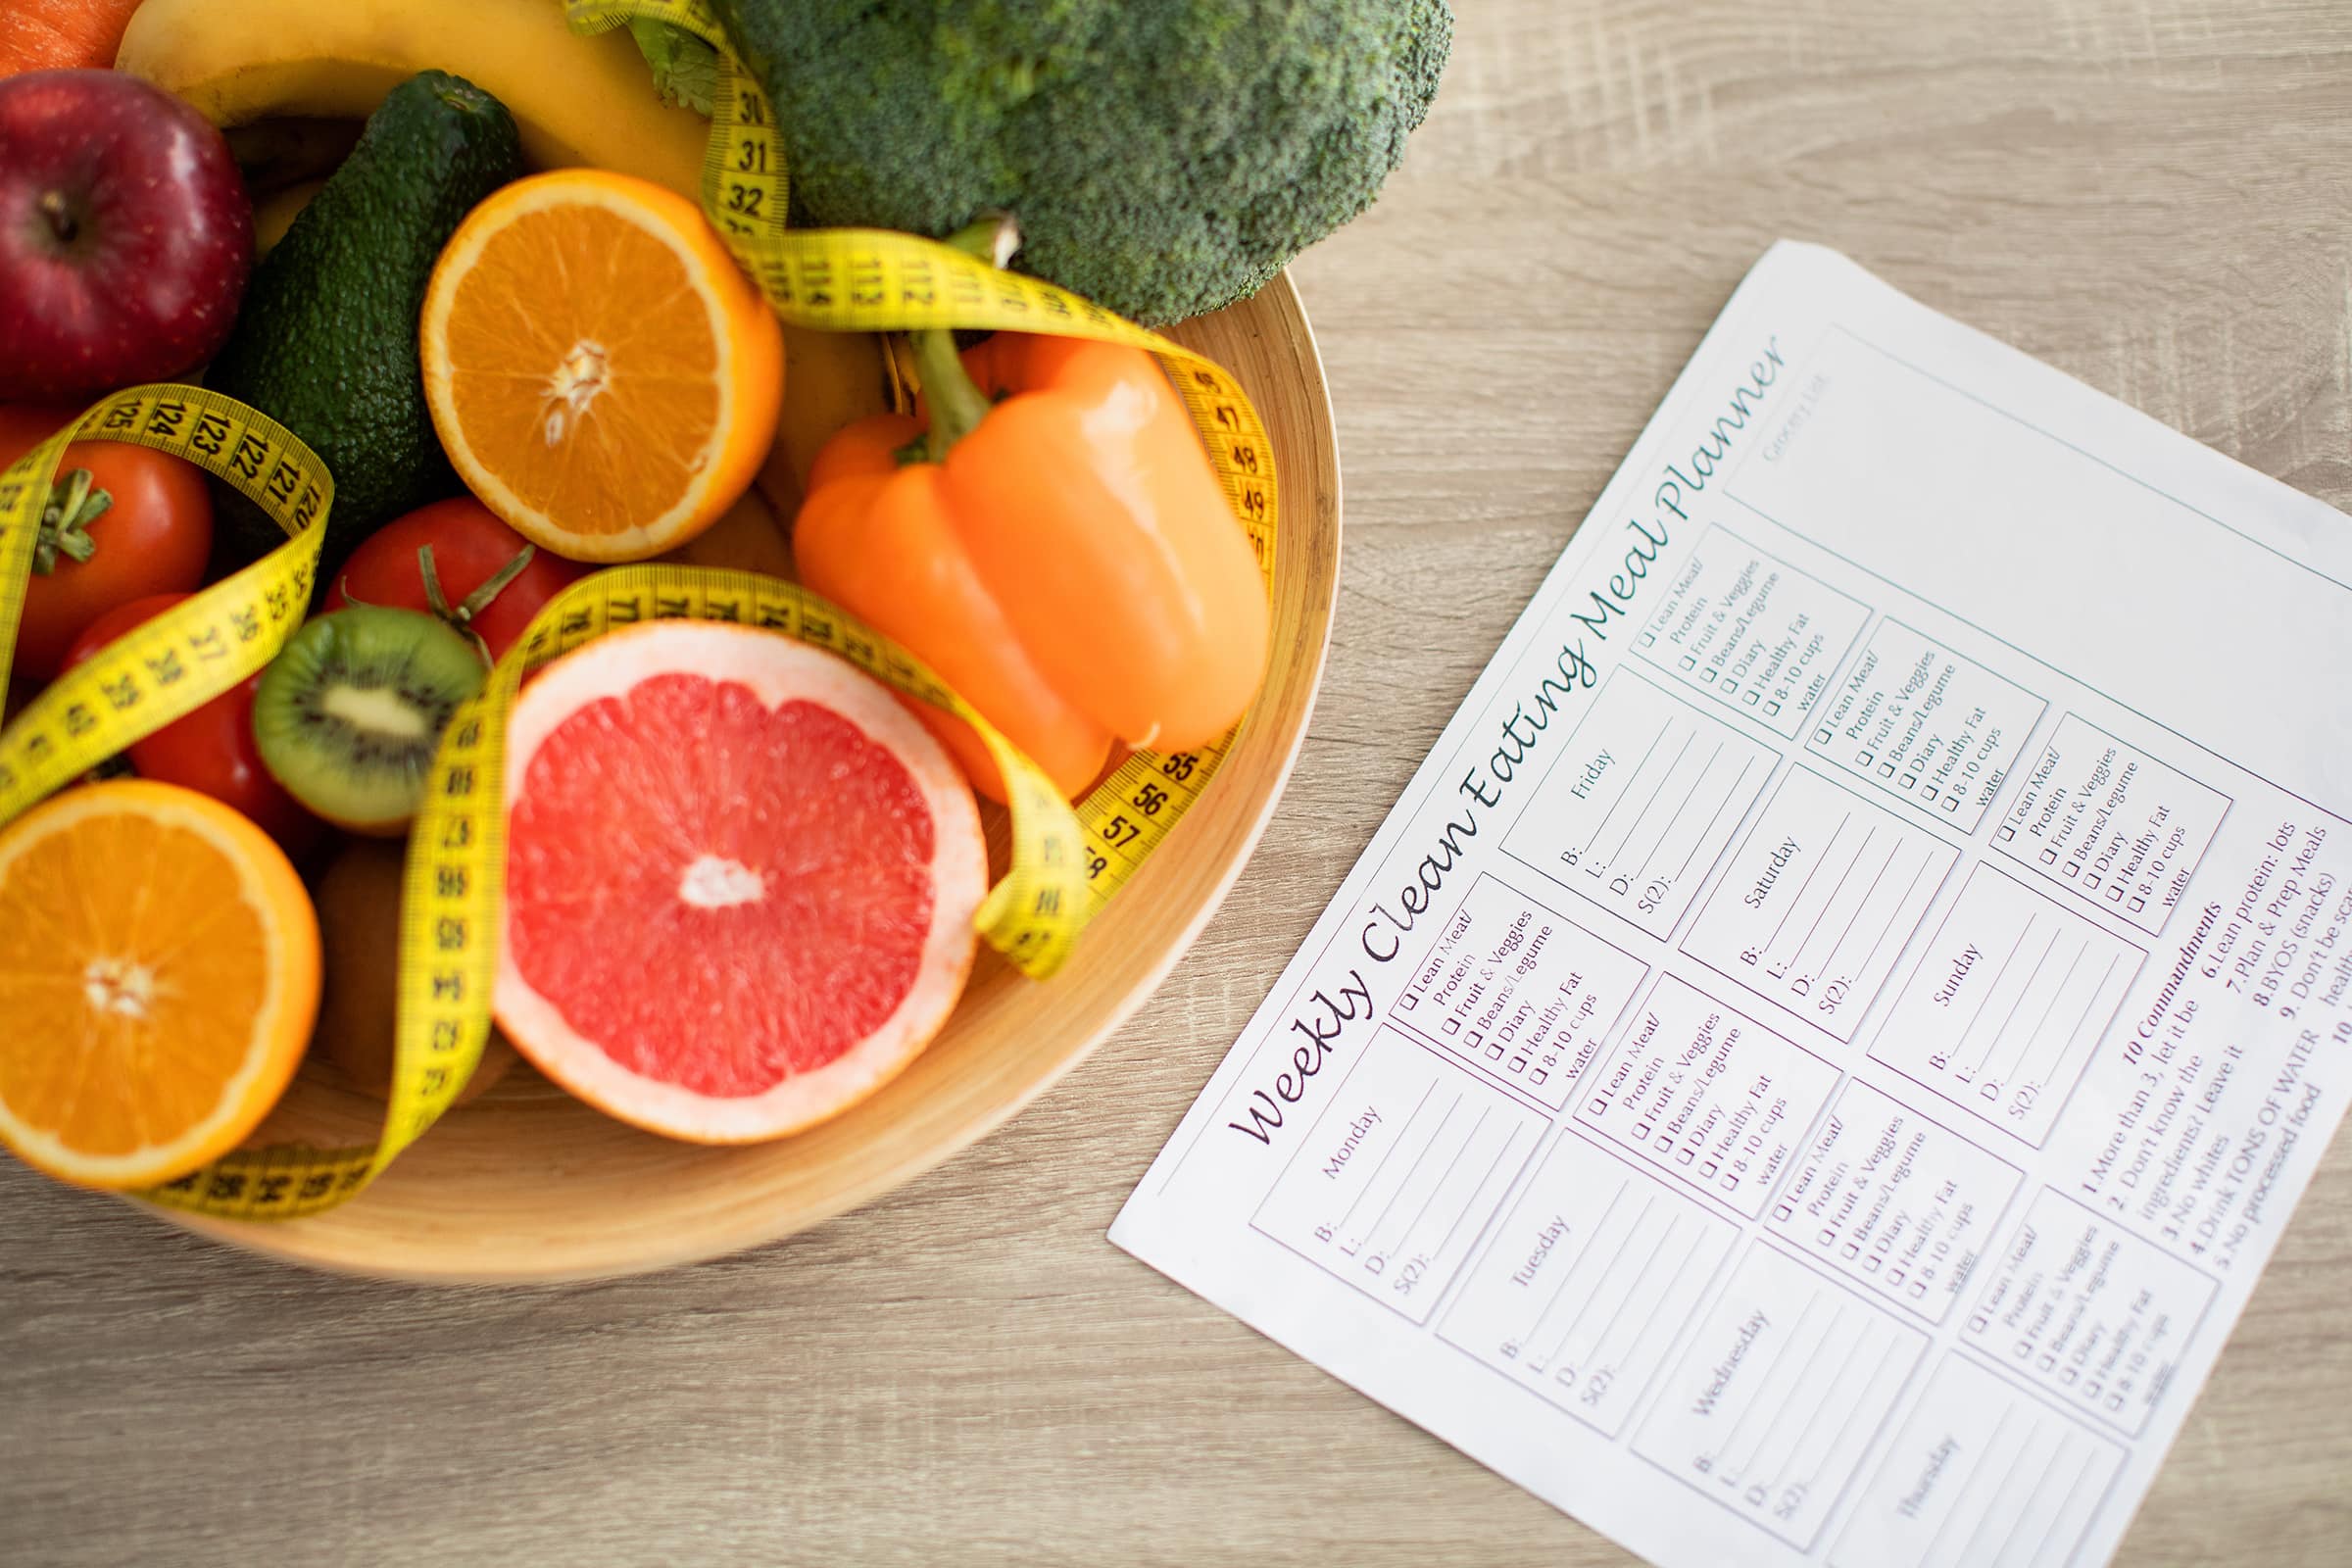
While both meal planners and cookbooks may include places for recipes and basic nutritional and cooking calculations, meal planners provide more blank space for users to personalize the book.
These low-content books utilize sections for users to fill in their meal or dietary records daily, weekly, or even monthly. Meal planners may include grocery list space or recipe sections for users to record a new favorite while some planners may include recipes or food lists.
But the main difference between the two types of books is that meal planners are created so that the user personalizes the book with their own content while a cookbook is a compilation of recipes in their complete form, ready for the user to prepare.
Steps to Making Meal Planners
1. Decide on the Focus or Type of Meal Planner
Books that provide spaces for users to fill in their own food information can either be traditional meal planners or nutritional planners.
Traditional Meal Planners
Weekly Meals: This type of planner provides space for daily meals in one-week intervals. Often times, weekly meal planners are created to appeal to a specific demographic like weekly meal planners for families with young children or a planner for someone who needs quick and easy meals to fit in with their busy schedule.
Monthly Meals: A planner that gives users a place to list out meals and food over the course of a month is an ideal planner for larger families. This type of user may meal-prep one meal to eat now and one to eat later, with monthly meal planners serving as not only a menu record but also a way to space out and use the prepped and stored meals throughout the upcoming weeks or months.
Nutrition-Focused Meal Planners
Calorie/Macro Planners: This style of planner focuses on giving users a way to track their daily calories, macros, or other food units to help them stay on their dietary plan. This planner might be organized as a daily, weekly, or monthly book and may even have boxes for users to check off each day or include some other simple, visual listing system that makes using the planner convenient.
Food Diary: These nutritional meal planners may be geared toward helping the user sustain a healthy lifestyle. A food diary may provide an informal daily notation space for users to record what and when they consumed some form of nutrition.
Food Log: Some people don’t use meal planners for the future but instead want to use it to record all food that they consume. Not associated with a specific diet, a food log planner may be set up as a daily log broken into three meals and a snack section along with room for the user to make notes about that day’s log.
2. Snag a Free Template (Or Make Your Own)
Before you begin creating content inside of the planner, secure a book template to use so you won’t have to worry about formatting your book as you write. You can use a free template or authors familiar with formatting details like margins, gutters and page numbering may want to create their own. Once you have a template you like, customize it to fit your planner’s focus.
3. Create the Content
Now it’s time to develop the main content for your planner. Take a look at other meal planners on the market in your same niche to help you get a feel for what customers are buying and what they will expect from your meal planner.
Adding creative content to your planner to make it stand out from others could potentially increase its sales but many consumers also love basic planners that they can customize themselves as well. Because planners are low-content books, be sure to double-check your work to omit any small errors like spelling, spacing, or odd word choices that may turn a potential buyer off.
4. Choose Extras to Enhance Your Planner
Now that you have the core content of your planner, it’s time to add extras that will help your book be more functional and helpful for users, so that they will choose your planner over others on the retail shelf.
Diet plan details can be included in diet-specific planners. Food calorie lists are an excellent inclusion for all nutritional planners. Grocery list pages are helpful in every kind of meal planner. Pre-filled lists with tick boxes to simplify the user experience can be perfect as time savers in planners targeting busy families or individuals.
Macro calculators are helpful for those using macro-focused nutritional planners. Blank pages structured for recording recipes can be an interesting add-on for all types of planners. Authors can also include some recipes as a “bonus” that provides calorie or macro counts, for example, to support users and encourage them to record their own recipes.
5. Graphics
When the text content has been created, graphic elements should be added to the planner to give it an appealing look and feel for your target user.
Cover Design: Enlist the services of a cover design expert to help you craft a cover that will catch the eye of your target audience while also coordinating with the look and feel of the type of planner you have made.
Take a look at other meal planners that appeal to the same demographic of customers that you are making yours for so you can integrate popular themes, color schemes, and graphic elements in yours. Be sure to include an ISBN number and bar code on the back cover of your planner to make it easier for retailers to stock and sell your planners.
Inside the Planner: Develop a cohesive graphic design scheme throughout the planner that will tie the focus and the cover together with the content. Coordinate high-quality graphics on the inside and outside of the book and engage the services of a professional if needed on sites like Fiverr.
6. Finalize the Print Basics
As you begin to finalize the content of your planner, the next step is to focus on the meal planner printing elements so you can take your book from idea to its final form.
Size: Planners can be printed in many different sizes and the most common sizes are 5 ½ x 8 ½, 6 x 9, 8 ½ x 11 and 9 x 12, but some types of bindings only work with specific sizes. Consider who will be using your planner and choose the size that makes your planner the most convenient for the user.
Binding: Think about the length of the book and how it will be used when deciding on the right type of binding for your planner. Saddle Stitch bound books can be up to 80 pages while Plastic Coil bound books offer space for up to 500 pages of content.
Sturdy like Plastic Coil, Wire-O bound books can be made up to 300 pages in length and both types of books are ideal for high-use books like planners.
Each type of binding can affect the margins you must use in the planner’s formatting, so be sure to double-check that your inside margins, called the gutters, are wide enough to handle the hole punches and plastic or metal loops used in Plastic Coil and Wire-O bindings without reducing the book’s contents.
Cover Materials: For high-use books like planners, be sure to use heavier-weight cover material so the planner will last through daily use.
Partner with a Trusted Printer: To ensure that your meal planner printing goes smoothly, partner with a quality printer like Dazzle Printing. After all of your hard work putting together a beautiful book, let the professionals take care of the printing process so you can be proud of your book and be ready to get it into your customer’s hands.


